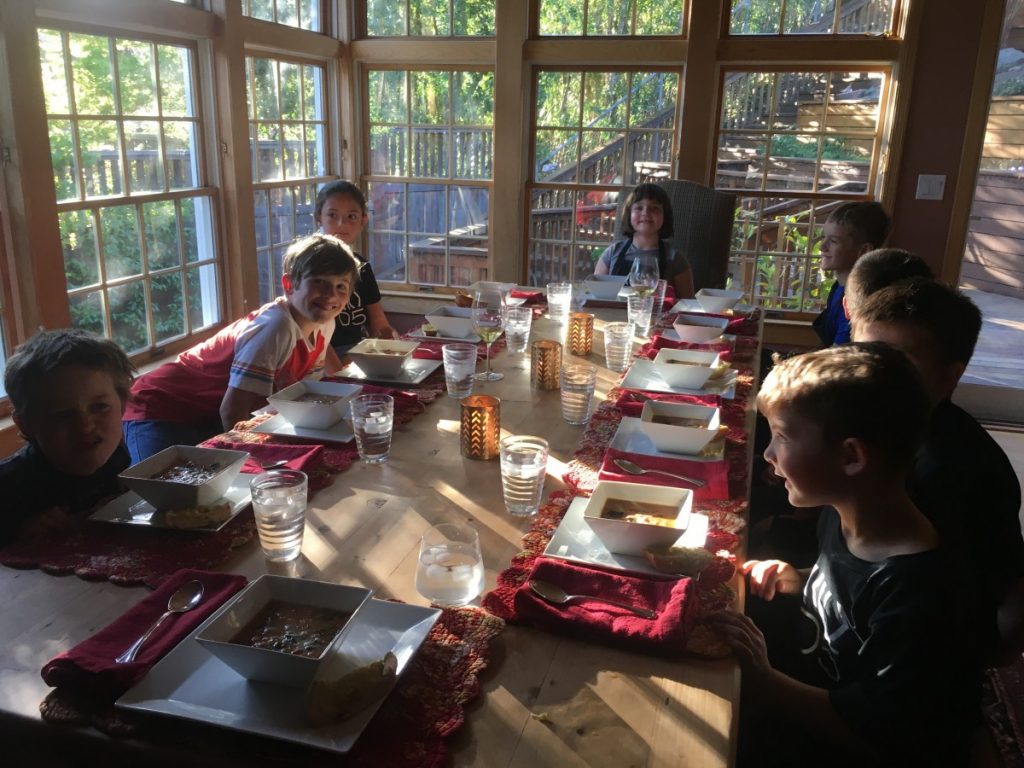
Whether you’re a teacher to other people’s kids, or you want ideas for your own, here are some ideas for you.
Introduction:
Healthy Kitchens, Healthy Lives is the mantra for this program.
When you understand the foods that support your health, and then you learn to create sumptuous meals for you and the people in your life, you feel satisfied and contented.
In the Kitchen:
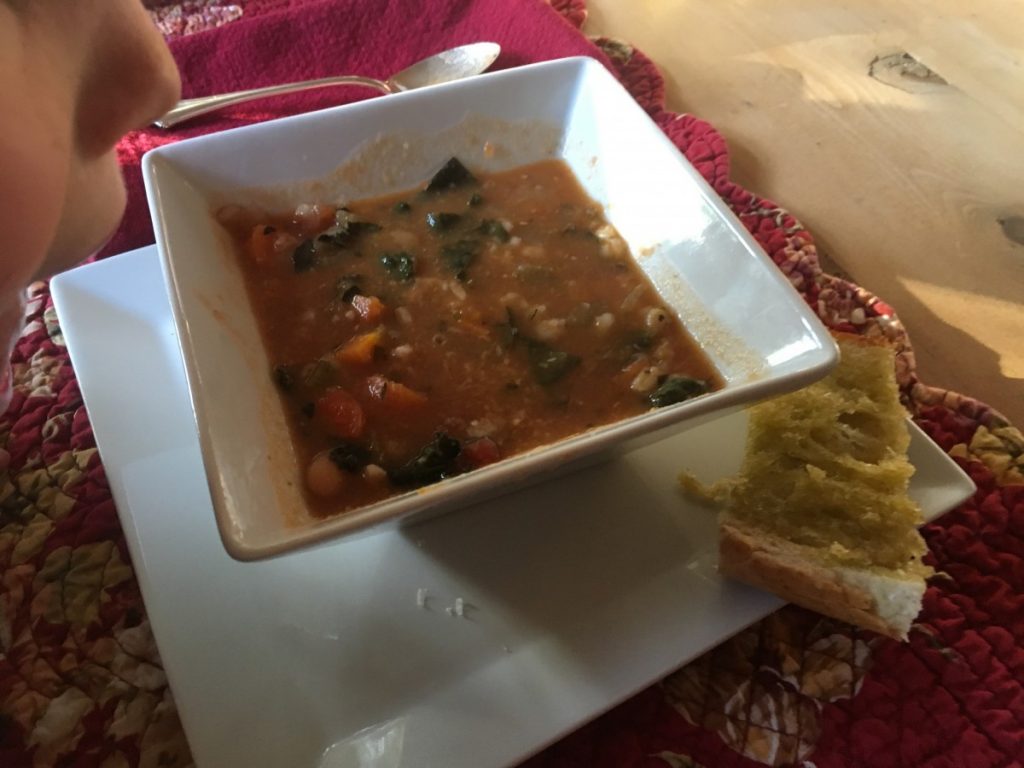
Kids, like most adults, simply want to jump in and make homemade pizza, but there are basics that need to be learned first, for safety and sanitation reasons, of course, but also so one knows how to measure properly, what size and type of pan to use and other basic information needed for a successful kitchen experience.
Safety and Sanitation:
Before you enter the kitchen, tie your hair back if you have long hair, and if you’re sick, stay out of the kitchen altogether. Next wash your hands in warm, soapy water. If you have any cuts or sores, be sure to cover with a bandage. While you’re in the kitchen, if you sneeze, cough, touch your hair, nose or any other body part, or eat, please wash your hands again. You obviously wash your hands well after you use the restroom. If you handle raw meat or fish, please wash your hands before touching any other food. Ideally your clothes and aprons should be clean.
Here are some very important tips to always keep in mind when you’re in the kitchen:
When you work with food, keep raw foods away from cooked foods.
Keep food away from cleaning products.
Wash all raw fruits and vegetables before preparation.
Rinse off your meats and fish as well, pat dry and leave in the refrigerator until you’re ready to use them. Raw and thawing meats and fish should always be kept on the bottom shelf of the refrigerator to avoid dripping and contamination.
Do not thaw foods at room temperature; thaw in a proper container in the refrigerator. Do not refreeze food after it’s been thawed.
Food needs to be held at proper temperatures to avoid the growth of bacteria that can make you sick. Cold foods should be kept at 40 degrees Fahrenheit. Stuffed meat and reheated leftovers should be kept at 165 degrees, beef and other hot food, 140 degrees, fish and poultry, 145 degrees and cooked pork, hamburgers and eggs, 155 degrees.
Kitchens can be dangerous places, with sharp equipment and hot stoves! It was my experience when I had my cooking school that, in order of accidents, potato peelers, graters, knives, and hot stoves and ovens, were the major culprits. With some very basic and very important rules, well learned, accidents rarely happen.
A tip for adults working with kids in the kitchen is to try not to hover. I understand the nervousness about watching an eight-year hold with a knife, but hovering only makes them nervous and makes the kitchen a stressful place, when it should be a warm, nurturing place. When they understand basic kitchen safety and the proper use of equipment such as knives, they’ll be fine.
The importance of pan sizes:
You just made your favorite brownie recipe, which calls for a 9” X 9” pan. If you cook brownies that call for a 9” X 9” pan in a 9” X 13” pan, the batter will be thinly spread across the pan and the brownies will end up more like a cookie. You’ll be disappointed in the results. Pan size is a very important part of baking and cooking.
As an example of how to alter some-not all- recipes; if you are making a cake and it calls for a 11 X 4 1/2 X 2 ¾” pan, which by the below chart is 50 square inches, and you don’t have such a pan, then you can use the 8 X 1 ½ “ round pan as it is the same square inches. Cooking time might have to be adjusted, as a greater surface area would take less time to cook. Pans are measured across the top of the pan between the inside edges.
Square and rectangular pans
7 ¾ X 3 5/8 X 2 ¼”…….28 sq. inches
8 X 8 X 1 ½” ……64 sq. inches
9 X 5 X 2 ¾” ……45 square inches
9 X 9 X 1 ½” …..81 sq. inches
11 X 4 ½ X 2 ¾” …….50 sq. inches
11 X 7 X 1 ½” …..77 sq. inches
13 X 9 X 2” ….117 square inches
15 X 10 X 2”….150 sq. inches
15 ½ X 10 ½ X 1”……163 sq. inches
16 X 5 X 4 “ …..80 sq. inches
Round pans
8 X 1 ½”…….50 sq. inches
9 X 1 ½”……..64 square inches
10 X 1 ½”…….79 square inches
Another note regarding cake pans is that the type of pan it is has an effect on the end result. A glass or enamel pan or pans of a dark color will hold more heat and make for a browner crust. If you have these pans, but do not want the darker crust, you can reduce the heat by 25 degrees, but use the same baking time. If you have shiny metal pans, your crust will be thinner and less brown.
Oven temperatures:
Remember to always pre-heat your oven at least 10 minutes before baking to allow it to come up to temperature. High temperature recipes can take 20 minutes for the oven to reach the required temperature.
Very slow …250 degrees or below
Slow …300 degrees
Moderately slow….325 degrees
Moderate ….350 degrees
Moderately hot…375 degrees
Hot….400 degrees
Very hot…425 degrees or higher
Lastly, you need to know how to measure dry and liquid ingredients.
Dry ingredients:
With dry ingredients, you scoop up the flour (or whatever) and level the top of the measuring cup with a knife. Do not press ingredients down before leveling.
3 teaspoons=1 tablespoon=1/2 ounce
2 tablespoons=1/8 cup=1 ounce
4 tablespoons=1/4 cup=2 ounce
5 1/3 tablespoons=1/3 cup=2.6 ounce
8 tablespoons=1/2 cup=4 ounces
12 tablespoons=3/4 cup=6 ounces
16 tablespoons=1 cup=8 ounces
32 tablespoons=2 cups=16 ounce
Liquid Ingredients:
Place the measuring cup on a flat service to make sure the liquid is at the proper line on the measuring cup.
2 tablespoons=1 fluid ounce
¼ cup=2 fl.oz.
½ cup=4 fl.oz.
1 cup=8 fl.oz.
1 ½ cups=12 fl.oz.
2 cups or 1 pint=16 fl.oz.
4 cups or 1 quart=32 fl.oz.
1 gallon=128 fl.oz
Ready to begin!
You are almost ready to begin, but before you do so, read the recipe completely to make sure you have all the ingredients. Next mise en place your ingredients, get out all necessary equipment and you’re ready!
Recipe Tips:
- Read through the recipe carefully to make sure that you understand the ingredients and directions. Make sure all ingredients meet your dietary needs.
- Make sure that you can perform all the techniques.
- Look at the recipe yield and decide if the number of servings is what you need. Check that you have all the necessary equipment and ingredients.
- Make sure that you have adequate time to prepare and cook, if needed, the recipe.
- Check whether you can (or need to) make any part of the recipe ahead of time.
- Check whether an ingredient is divided, so that you don’t make the mistake of using that ingredient all at once.
- Find out whether you need to preheat the oven.
Recipe grammar is important! One cup chopped nuts is not the same as 1 cup nuts, chopped. Sometimes you measure an ingredient and then prepare it and sometimes you prepare the ingredient and then measure it.
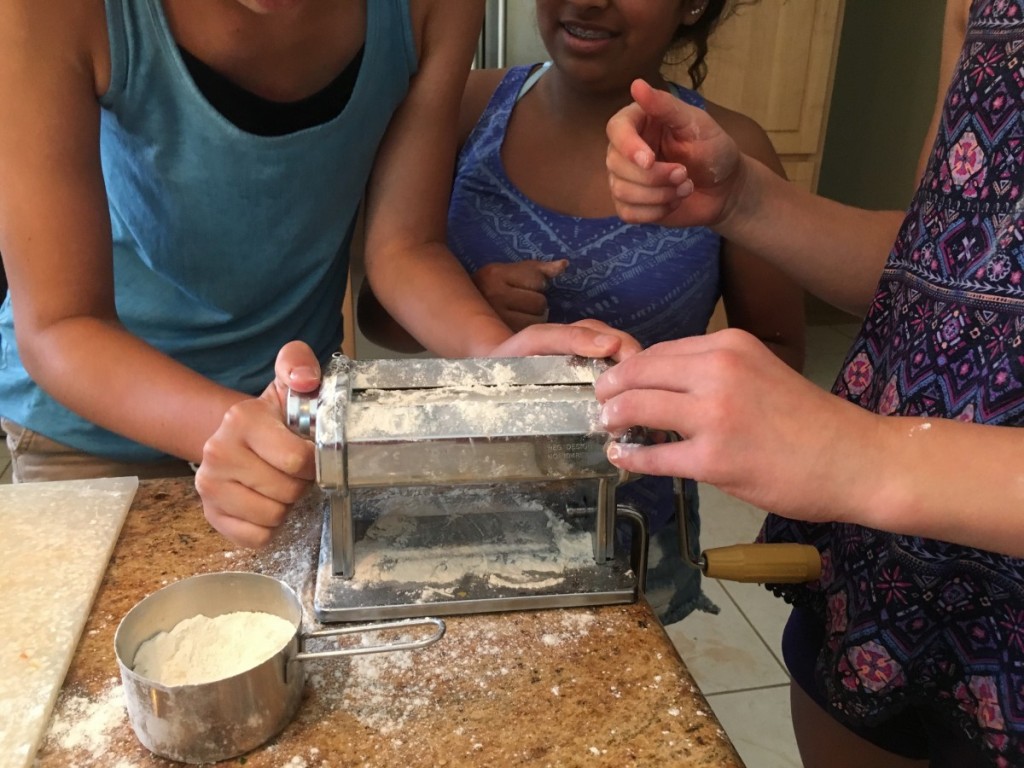
Ghee or Clarified Butter
We’ll use this for various recipes this week.
Take 1 pound of organic, unsalted butter and melt in over medium-low. Skim the white foam off the top. Let simmer over low heat until the milk solids on the bottom have turned a light brown; about 15 minutes. Filter though a coffee filter or cheesecloth into a jar. Ghee does not burn like butter. It’s often used in Indian cooking. This will keep for approximately 1 month.
A Tip for ‘quick breads’:
Carbon dioxide is necessary for leavening, or causing tiny air pockets in, the pancakes or muffins. Excessive blending of the batter causes early formation and escape of carbon dioxide gas. Over-mixing can overdevelop the gluten (a protein) in the flour. While some of this protein is necessary for the normal texture of pancakes, too much gluten can produce tough, chewy pancakes and muffins. For best results, stop mixing the batter before all the tiny clumps of flour are gone.
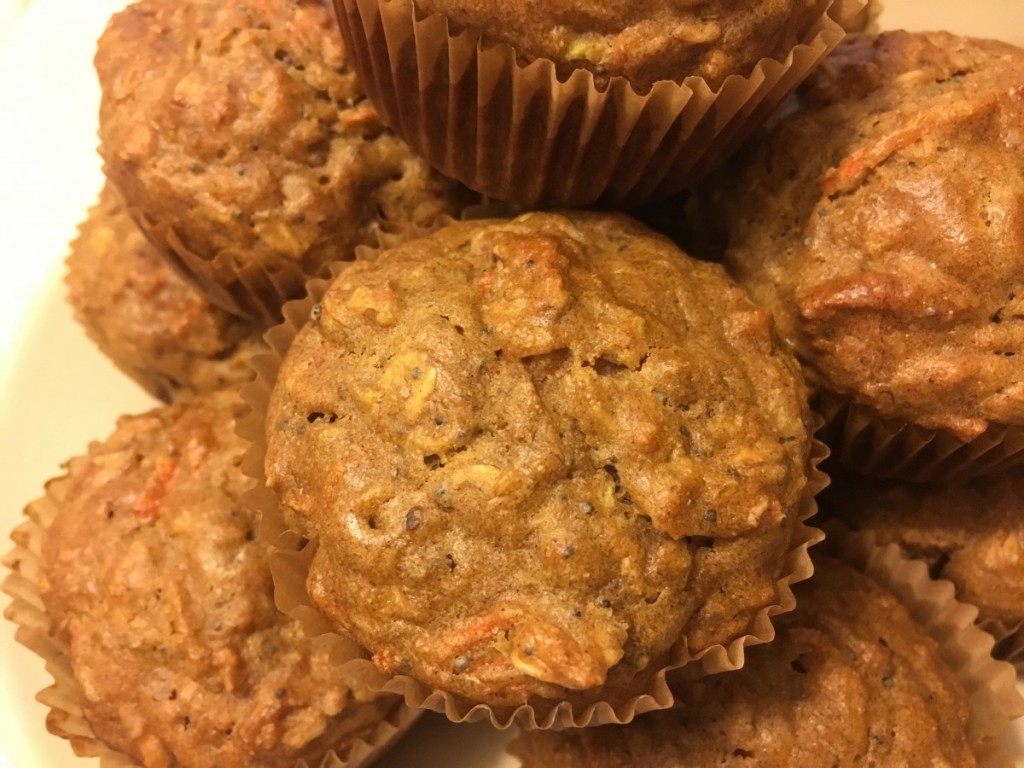
Oat Bran Muffins
Serves 12
2 cups oat bran (not oatmeal)
1/2 cup sugar*
2 teaspoons baking powder
1 teaspoon cinnamon
1/2 teaspoon sea salt
1 cup milk or other liquid. I used Chai once.
3/4 cup applesauce or pumpkin puree or prune puree
2 eggs
1 cup apple, grated
1/4 cup pumpkin seeds, chopped
1/3 cup almonds, chopped
1/4 cup raisins
Preheat oven to 425 degrees and lightly oil the muffin pan or use paper muffin cups.
Mix together first 5 ingredients. In a small bowl mix together the milk, applesauce and egg; stir well and add the grated apple. Stir briefly into the dry ingredients with the pumpkin seeds, almonds and raisins.
Spoon into prepared muffin pan and bake for 15-17 minutes.
Notes:
* Use non-refined sugar such as Sucanat or Rapadura
You may use walnuts instead of almonds and dried apricots, cranberries or cherries instead of raisins. I have also added 1 tablespoon of sesame seeds and 1 tablespoon of chopped sunflower seeds.
A bite of food and you:
Where does digestion begin? Let’s use a slice of pizza as an example. Digestion begins in the brain when you first notice that beautiful crust topped with all your favorites—sight, perhaps sound and most acutely smell all kick in to begin the digestion process of that first bite.
Is your mouth watering? It’s supposed to! The salivary glands in your mouth produce saliva that contains an enzyme, salivary amylase, which moistens the food and begins the chemical digestion of carbohydrates.
Next your teeth chew the food, hopefully very well, as that affects digestion and nutrient absorption. So far you have been in control, you voluntarily bit into that slice of pizza and also chose to chew well. That chewed piece of food you’re about to swallow is now called a bolus. After you’ve swallowed the bite, everything else is involuntary.
Swallowed food is pushed first into the pharynx, a tube-like structure behind the nasal cavities and the mouth. Air must pass through the pharynx on the way to the lungs and food on the way to the stomach. Next, that masticated (chewed) bite of pizza passes into the esophagus, which connects the throat above with the stomach below. At the junction of the esophagus and stomach, there is a ring-like muscle, called the lower esophageal sphincter that closes the passage between the two organs. As food approaches the closed sphincter, the sphincter relaxes and allows the food to pass through to the stomach.
Next is the stomach, a muscular bag, with three main parts. The top is called the fundus. The middle is called the body of the stomach. The bottom is called the antrum or pylorus.
The lining of the stomach contains glands, which make and secrete stomach juices. The stomach juices contain an acid and a digestive enzyme called pepsin. These began to flow as soon as you saw and smelled that slice of pizza, well before food entered your stomach. The enzyme starts to break down (digest) proteins in the food so that the body can absorb them. The acid is needed for the enzyme to work properly. It also helps to kill bacteria that might be in the food, protecting against food poisoning. Stomach acids sterilize your food.
That bite of pizza you took looks nothing like a bite of pizza anymore, especially after it hits the stomach and stomach acids. First the muscle of the upper part of the stomach relaxes to accept the swallowed material. Next the muscles of the stomach wall begin powerful contractions, which pass over the stomach in waves. This movement of organ walls, which propels food and liquid through the system from one organ to the next, is called peristalsis. These muscle contractions mix up the food, liquid and digestive juices and break it down until it is a thick liquid. The third task of the stomach is to empty its contents slowly into the small intestine.
Some foods stay in the stomach longer than others. Carbohydrates spend the least amount of time in the stomach, while protein stays in the stomach longer, and fats the longest.
The stomach makes another chemical (the intrinsic factor) that is needed for the body to absorb a vitamin called vitamin B12. This vitamin is needed by the body to help make red blood cells and to helps to maintain a healthy nervous system.
So why doesn’t our stomach eat itself with all these acids? There are other glands in the stomach lining that make thick mucus. This mucus helps to protect the stomach lining from being damaged by the acid and protein-digesting enzyme in the stomach juices.
After the stomach empties the food and juice mixture into the first part of the small intestines, the duodenum, the juices of two other digestive organs mix with the food that is now called chyme. One of these organs is the liver, which produces bile, a digestive juice. Bile is stored in the gallbladder. It is squeezed out of the gallbladder, through the bile ducts, and into the intestine to mix with the fat in food. The bile acids dissolve fat into the contents of the intestine. The other organ is the pancreas, which produces pancreatic enzymes that break down the carbohydrate, fat, and protein in food.
The next small intestine section is the jejunum, followed by the ileum, which leads to the large intestine. These two sections absorb nutrients and water more than they break down food. The intestinal wall contains blood vessels that carry the absorbed nutrients to the liver through the portal vein. The intestinal wall also releases water and mucus, which lubricates the intestinal contents, which dissolves the digested fragments. Small amounts of enzymes that digest proteins, sugars, and fats are also released. The mucosa of the small intestine contains many folds that are covered with tiny fingerlike projections called villi. In turn, the villi are covered with microscopic projections called microvilli. These structures create a vast surface area through which nutrients can be absorbed.
Once all the nutrients are taken from the food, the indigestible parts are transported to the large intestines. Like the small intestines, the large intestines have three parts. The first is called the cecum. Next comes the colon, which has three sections: ascending, transverse and descending. In the first two sections, salts and fluids are absorbed from the indigestible food. Billions of bacteria that live in the colon help to ferment and absorb substances like fiber. The products of this process include cells that have been shed from the mucosa and undigested parts of the food, known as fiber. While these tracts absorb, they also produce mucus that helps feces move easily through the descending colon and into the third part of the large intestine: the rectum. Your feces or stool is approximately thirty percent bacteria, thirty percent indigestible matter like fiber, and forty percent inorganic waste like chemicals from processed foods and bodily waste like old red blood cells. Lastly, feces is excreted through your anus in your bowel movement, triggered by nerves that tell you it’s time to go!
That’s it! Your digestive system, like the rest of your body, is truly amazing.